Fell & Sell Dungeon Guide: Navigation, Risk & When to Leave
How to navigate procedurally generated floors without a mini-map, use opened doors as route memory, and decide when a haul is worth banking.
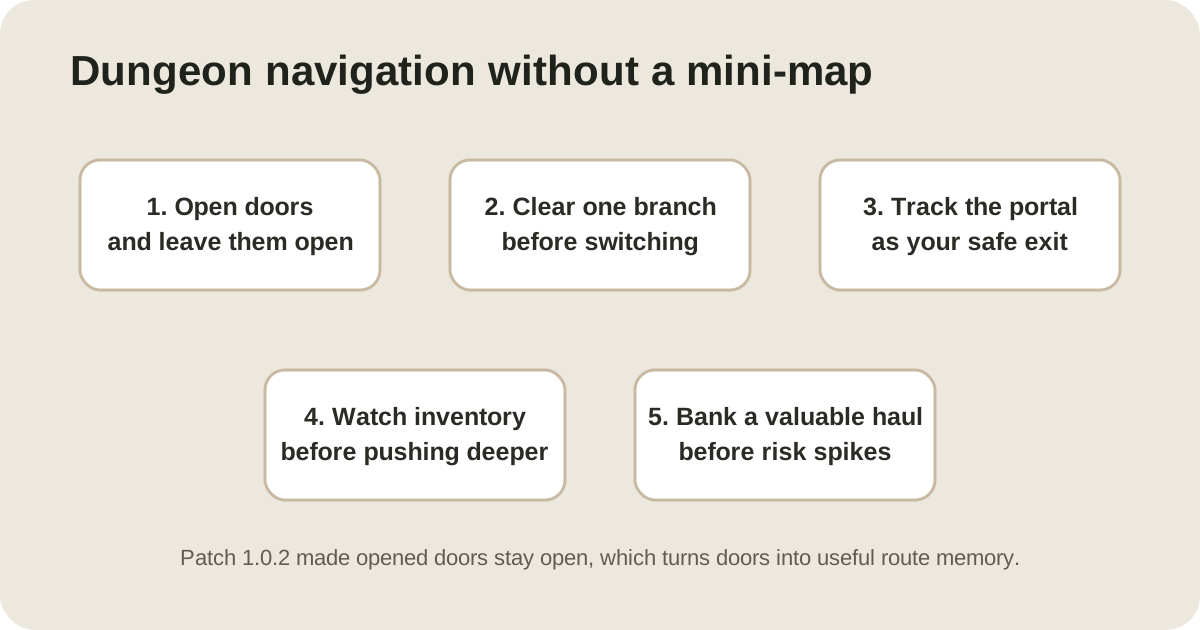
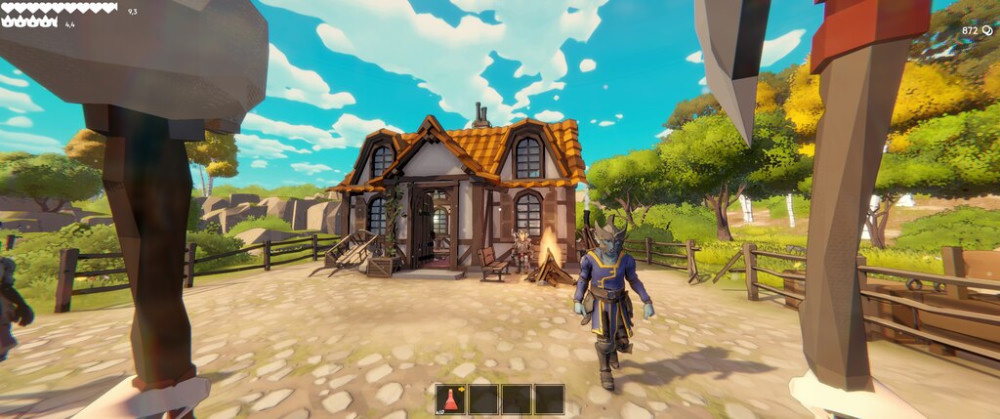
Fell & Sell does not hand you a conventional mini-map, and players have already reported getting lost. That sounds rough, but patch 1.0.2 quietly added one of the best navigation tools in the game: a door you open stays open.
Use that as route memory.
This advice is grounded in the public 1.0.2 announcement and the public branch observed on Aug 29. A separate beta branch is not used to rewrite route advice until its changes are publicly documented for ordinary players.
Clear branches instead of wandering
When you enter a floor, pick one branch and finish it before bouncing between corridors. If you return to an open door, you know you have already passed through that route. This is much more reliable than trying to memorize room shapes in a procedural layout.
Do not use screenshots from another run as a “map.” The dungeon generator can produce different layouts, so a fixed coordinate map would be misleading.
The real dungeon question is not “how deep can I go?”
It is “is the next floor worth risking what I already have?”
The official game description gives both sides of the trade-off:
- deeper floors can produce rarer loot;
- death removes the unbanked haul.
A good stopping point is when the current bag already contains the material, recipe, gear upgrade, or sale stock that would noticeably improve the next cycle.
Leave space for an unexpected upgrade
Do not hit the next floor with a completely jammed inventory. Patch 1.0.2 fixed a nasty overload bug where swapping weapons could destroy the displaced item. The current build drops an item if it cannot fit, but inventory pressure is still part of the game.
A few empty slots are not wasted capacity. They are insurance for a rare drop.
Altars can change the run, so do not force one plan
The store page confirms that dungeon altars can radically alter playstyle. Examples given by the developer include shrinking your character, Midas Touch converting heavy items into gold, and cycling between manic/depressed combat states.
That means a run plan should be flexible. If an altar solves your weight problem or changes how you survive, the value of pushing deeper can change immediately.
Boss floors and progression
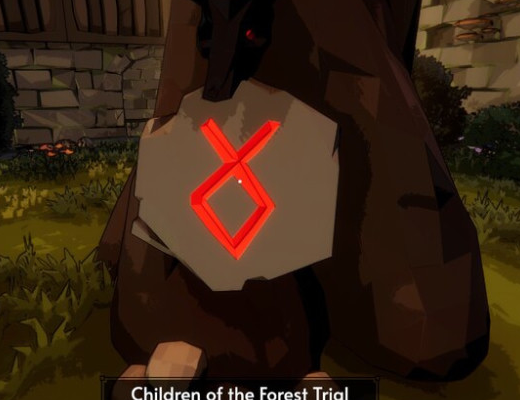
Steam achievements confirm milestones for killing one, two and three bosses, and for reaching floors 2, 4, 6, 8 and 10. They do not prove there are only three bosses or that floor 10 is the absolute dungeon cap, so this guide will not turn those achievement thresholds into fake world data.
For the first safe loop, return to the Beginner guide. For deciding whether to bank a material or turn it into gear, continue to the Crafting guide.