Fell & Sell Tips: 12 Early-Game Habits Players Learn the Hard Way
The best Fell & Sell tips for the early game: what to bank, when to leave the dungeon, how to read shop feedback, and layout mistakes that quietly waste a run.
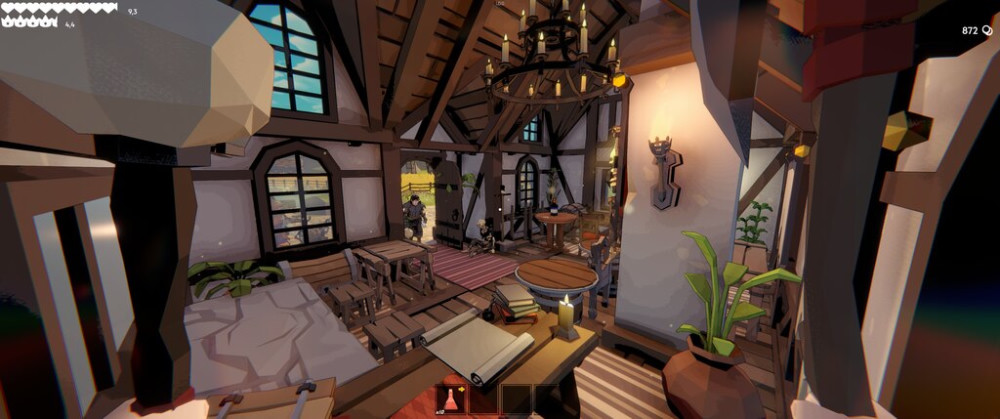
This is a field guide, not a hidden-stat database. It distills repeatable decisions from nine user-provided player recordings into actions you can use on the current public build. Several recordings are from launch or early access, so exact prices, recipe costs, item stats, drop rates, reward tables, and UI values are deliberately left out.
For current patch boundaries, use Current Version. For named data, follow the PARTIAL trackers for Item Prices, Recipes, Materials, and Weapons.
1. A run is not won until the haul is safe
The repeated failure pattern is simple: a player finds the upgrade or material they wanted, takes one more risky room, and loses the entire unbanked haul. When a run has already solved a real bottleneck, leave through the safe route and turn the haul into progress.
This is especially true when the bag contains a recipe blocker, a likely gear upgrade, or enough stock to restart sales. The Dungeon guide explains the route and risk boundary in more detail.
2. Pack for a purpose, then leave the rest at home
Before entering, decide whether the run is for stock, materials, gear, or a depth test. Put spare equipment and nonessential materials in the home chest. Multiple launch tutorials describe that chest as feeding the crafting setup, so storage is part of your safety plan rather than dead inventory.
If the plan changes because of an unusual drop, change the plan. Do not make a “depth test” carry every valuable thing you own.
3. Keep one escape decision ahead of the dungeon
At the end of a floor, the interface shown in several recordings presents a choice between securing the haul, taking a run-changing effect, or continuing. Before interacting, state the trade-off in plain language: “If I go deeper, I can lose this specific haul.”
That pause prevents the common mistake of treating a tempting option as free upside. The existence and exact values of individual prayers remain version-sensitive; the leave-or-risk decision does not.
4. Make stamina and room shape part of every weapon choice
In player runs, a weapon that looks stronger on a card can be worse in the next tight room if it leaves no stamina to block, dodge, or retreat. Test unfamiliar gear in a safe room, learn its rhythm, and keep an escape lane before committing it to a deeper floor.
Use this as a decision framework, not a tier list. Exact damage, speed, stamina, and carry values are still VERIFY in the Weapons guide.
5. Treat traps as information before treating them as a weapon
Launch recordings show floor, wall, and overhead hazards. Slow down at a new doorway, locate the trigger and its safe side, then decide whether it is worth using. Some players successfully led enemies into visible traps, but that is an opportunity only when you can stay clear and still know where the exit is.
Do not cross a dangerous room just because an enemy pathed through it once. Trap types and layouts can vary.
6. Special rooms are optional fights, not automatic upgrades
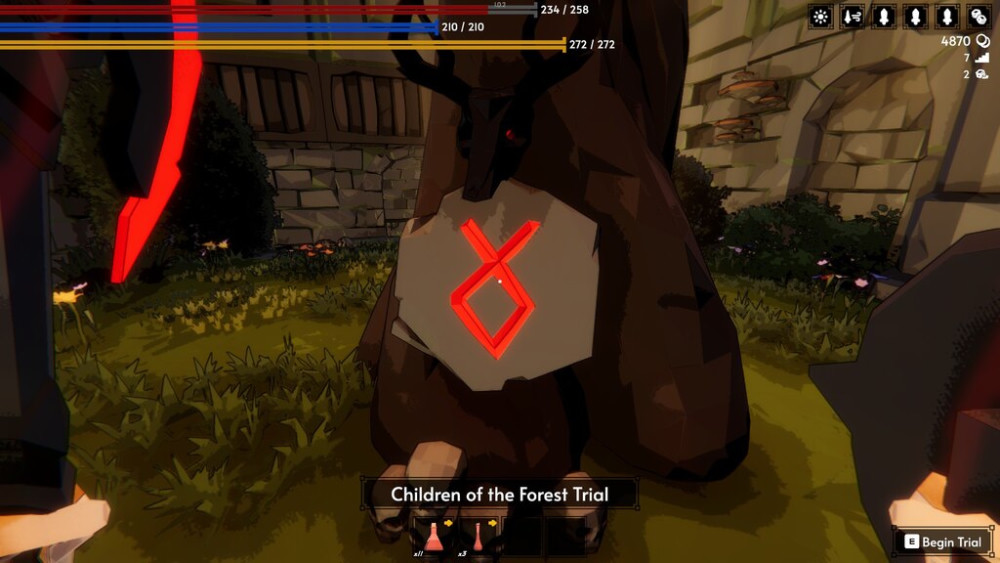
Several videos show special-room or tomb interactions leading to much harder encounters, sometimes with enemies arriving behind the player. Enter only with a reason: adequate health, a weapon you understand, free inventory room, and a route back to safety.
The exact room rewards and enemy tables are unverified. A special room is worth opening because you can survive the downside, not because a single video got lucky.
7. When the bag is full, keep decision value instead of guessing item value
Do not drop an item solely because it looks common or because a creator sold it. Keep the thing that protects the next loop: a known crafting input, replacement gear, an item needed for a current objective, or the clearest sale opportunity under today’s demand.
If two things look interchangeable, check their name, intended use, and whether you can replace them safely. This is why a few empty slots are insurance, not wasted capacity.
8. Use customer reactions to choose the next price test
Multiple launch tutorials demonstrate the same directional feedback: red/angry means a price is too high, yellow/content is the target range, and green/happy suggests the price is too low. Demand indicators were likewise shown as high, average, and low states.
That tells you where to move next, not the one permanent “correct price.” Put out a small batch, note the demand state and listed price, then change one variable. The Pricing guide turns that into a repeatable test loop.
9. Check display direction before discounting stock
Player recordings show that racks and displays can be rotated so the customer-facing side points into the wrong part of the shop. Walk the customer path after placement. If the display is facing you or a wall, fix the layout before assuming the item is overpriced.
This small check prevents a layout mistake from contaminating your price experiment. See Decorations, Comfort & Prestige for the wider layout boundary.
10. Craft to solve the next run, and reserve both kinds of input
The recurring crafting lesson is not “make the rarest thing.” Craft when the result fixes the next dungeon problem: survival, damage, a useful shop fixture, or a known downstream recipe. Multiple recordings show that crafts can consume materials and coins, so reserve both before spending around the workbench.
Do not publish or follow a stream’s exact recipe cost as current data. Use Crafting Strategy for the decision, while Recipes remains deliberately VERIFY.
11. Check the board before you turn a haul into cash
The Quest Board and nearby progression prompts are low-effort checks after a return. Recordings show early goals tied to ordinary actions such as crafting, selling, and combat, which makes them useful for choosing the next loop.
The specific task-to-reward mapping is not yet a reliable database. Treat the board as a prompt to inspect, not proof that a named reward will always appear. The Quest Board guide keeps that line clear.
12. Let the forest’s current event set expectations
Several tutorials explain that forest conditions and signposts can change both available resources and danger. Read the current event before assuming a previous route will deliver the same materials or difficulty.
This is a planning habit rather than a drop-table claim. Weather effects, exact enemy changes, and resource rates remain VERIFY until they are reproduced on the public build.
Evidence boundary
Every tip above is a repeated qualitative observation from at least two supplied gameplay recordings or a tutorial prompt visible in them. The following are intentionally not promoted to facts here: numeric item prices, price formulas, exact recipe ingredients or costs, boss-floor rules, exact decoration caps, drop rates, quest rewards, altar values, and Bloodstone Greatsword requirements.
Community observation sources
- Dungeon Diving Shop Keeping RPG! Fell & Sell!
- Raid Dungeons, Sell the Loot & Get FILTHY RICH!
- UPGRADING my Shop and SELLING Loot From The Dungeon!
- I Opened The Weirdest Fantasy Shop
- Buying a MUCH Better Shop Changes Everything
- EARLY ACCESS — Grave Robbing is Pure PROFIT!
- This New Medieval Game is Dangerously Fun
- I Risked My Entire Shop for Better Loot
- Day 1 Survival in This NEW Medieval Fantasy World